
A new finish keeps the cabinet arrangement and door profiles you already have. It can suit a kitchen with dependable boxes, workable storage and an appearance you want to change. It will not turn shallow drawers into deep ones or solve a door that strikes the dishwasher.
Send photographs of the fronts, worn areas and cabinet interiors when discussing the finish work. Mention any previous paint or coating attempts. A closer inspection may reveal loose facing, contamination or damage that changes the preparation needed, and some providers accept painting without offering clear wood refinishing.
Do you want color, or visible wood grain?
Painting usually means an opaque finish on existing doors and exposed cabinet surfaces. Some wood texture may remain visible. A representative sample shows that texture more accurately than a smooth online color swatch.
Refinishing can mean removing or renewing a coating while keeping the wood visible beneath stain and a clear finish. Ask what will be removed and applied. A darker stain, lighter wood appearance and opaque paint require different work.
A sample door settles more than a color chip
View a sample in the kitchen's daylight and evening lighting. Check sheen, grain, edges and recessed profiles. The species, previous stain and veneer may limit a change from dark stain to pale wood. Approve the achievable result before committing the whole set.
Identify the surface before specifying the coating
Solid wood, wood veneer, MDF, laminate and wrapped fronts do not prepare in the same way. A thin veneer needs different handling from a solid panel. Peeling film or a swollen fiberboard edge deserves an assessment of the material beneath it; covering the visible damage may leave the underlying failure unresolved.
Look beyond the fronts. Check the sink base, hinge mounting points, drawer operation and exposed ends. A sound finish over a damaged box does not restore the box. Resolve leaks and moisture sources first, then decide which components can reasonably stay. A few damaged fronts may need replacement even if the remaining cabinetry is suitable for coating.
Preparation is part of the finished appearance
Cooking residue, polish and cleaners can affect a new coating. Preparation needs to address contamination, failed finish and repairs before primer goes on. Ask how compatibility and adhesion will be checked for your particular surface.
Doors and drawer fronts may be removed, labeled and finished elsewhere. The proposal should identify the parts leaving the property, the surfaces treated in place and protection for counters, floors and appliances. Establish whether interior shelves are included.
- Record the surfaces included: fronts, frames, exposed ends, trim and interiors.
- Identify damage repairs and any replacement parts separately.
- Agree how hardware is removed, labeled and reinstalled.
- Discuss work-area containment, ventilation and household access.
Plan around application and curing
Spraying, brushing and rolling can produce different surface characteristics, and the appropriate approach depends on the coating system and work area. Ask to see the expected finish standard on a sample, including inside corners and door edges. A promised application method alone does not define the quality of the result.
Dry to the touch and ready for regular use are different milestones. Follow the selected product's recoating, handling and curing instructions. Confirm when doors can return, drawers can be loaded and normal cleaning can resume. Plan household access around those milestones.
Make temporary arrangements for food preparation and stored contents. In an occupied kitchen, clarify which areas will be unavailable and when. For a condominium, check property-specific work hours and any building arrangements before agreeing to the work schedule.
Decide on handles before the finish work
New pulls may have different hole spacing. Mark any hardware change early so the provider can assess filling and drilling before coating. Old hole locations or repairs may remain visible under certain finishes; review that risk on the sample rather than discovering it at reassembly.
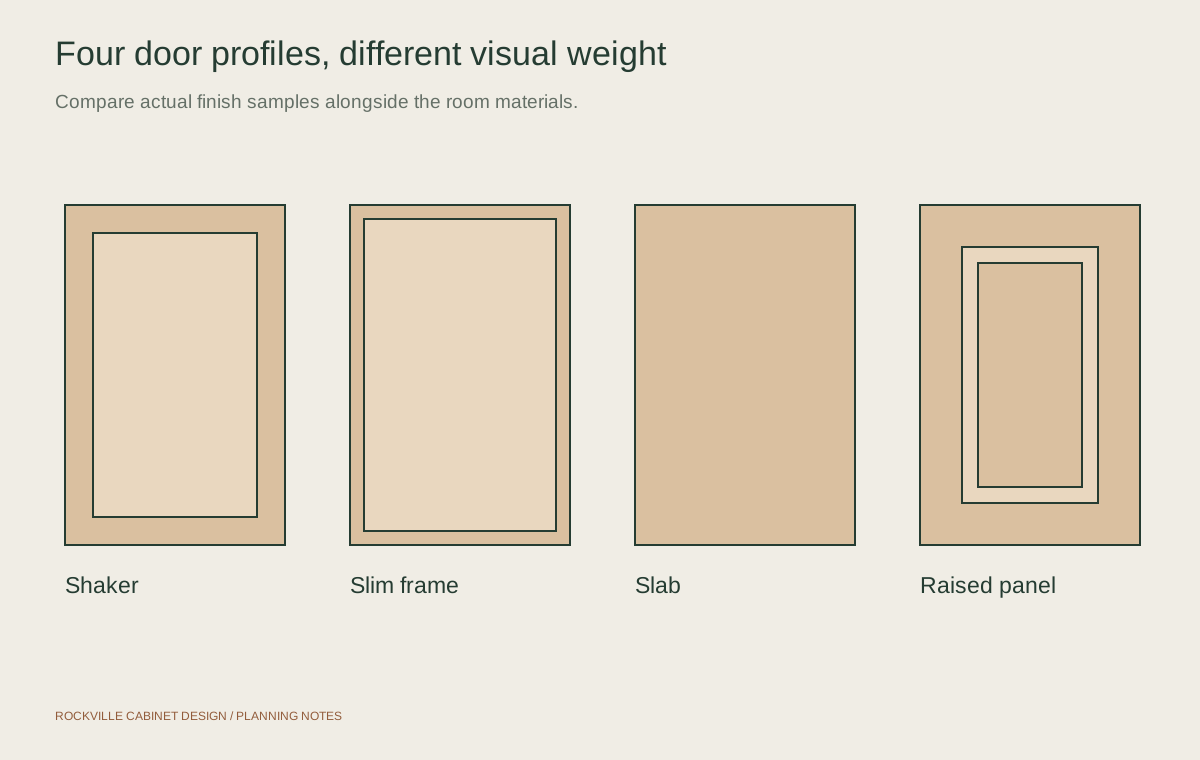
Door and drawer adjustment is another separate question. A finish specialist may reinstall existing hardware without repairing worn hinges or slides. List sticking drawers, loose hinges and damaged mounting points during assessment. If your goal is a different door profile or better cabinet layout, compare refacing or replacement before paying to finish components you intend to remove.
Put the finish and responsibilities in writing
Put the coating system, approved color and sheen, preparation, included surfaces, repairs and reassembly in the proposal. It should also state how changes or unsuitable underlying material will be handled. Confirm the business responsible for workmanship questions and obtain its actual care and warranty terms.
For an initial discussion, call (877) 702-1610 with photographs and a short description of what you want to keep. Mention peeling surfaces, water damage or previous coating attempts. Provider availability and acceptance of painting, staining or clear refinishing must be confirmed for your project.
Keep the raised-panel doors, change the finish

The starting point
A kitchen with raised-panel wood doors has a worn amber finish around frequently used pulls. The cabinet divisions, counters and appliance positions still suit the room, so replacing the arrangement would add work without addressing the main concern.
The proposed work
The proposed sequence begins with checking the boxes and coating adhesion, then approving a muted green painted sample. Doors and fronts would be labeled for removal; exposed frames and ends would receive the agreed preparation and matching finish. Hardware holes would stay in their existing positions.
The result to plan for
The planned result is the same recognizable kitchen with a consistent green finish. Raised profiles remain visible, cabinet openings stay unchanged and doors return to their original locations after the specified handling period.
Choose painting when the cabinet form works. Assess finish failure and box damage separately before deciding what can stay.
Questions about cabinet painting & refinishing
Can laminate cabinets be painted?
Possibly, depending on the laminate, its condition and a compatible coating system. Loose or damaged facing needs assessment first. Ask the provider to explain preparation and adhesion testing for that surface; do not assume a wood-cabinet process applies.
Will painting hide the grain in oak doors?
An opaque color does not necessarily hide the texture. Grain filling and preparation can affect the appearance and scope. Approve a representative sample with the intended sheen so the expected texture is clear before the full set is coated.
Can I use my kitchen while the cabinets are being finished?
Access depends on where the work happens, the materials used and the provider's work-area arrangements. Discuss food storage, surface protection, ventilation and unavailable areas in advance. Follow the agreed handling and curing instructions rather than judging readiness by touch.
Is painting cheaper than refacing?
Compare actual proposals for the same kitchen. Preparation, damage, included surfaces and the chosen coating affect painting costs. Refacing changes fronts and related facing, which is a different scope. The useful choice starts with the condition and appearance you want to achieve.